How to
Create/Modify/Rename/Populate Partitions:
Now that (hopefully) you are more familiar with the Library manager, you may feel the urge to start creating a much smaller list of parts, symbols, and cells that relate to your project. This tutorial is for you then!
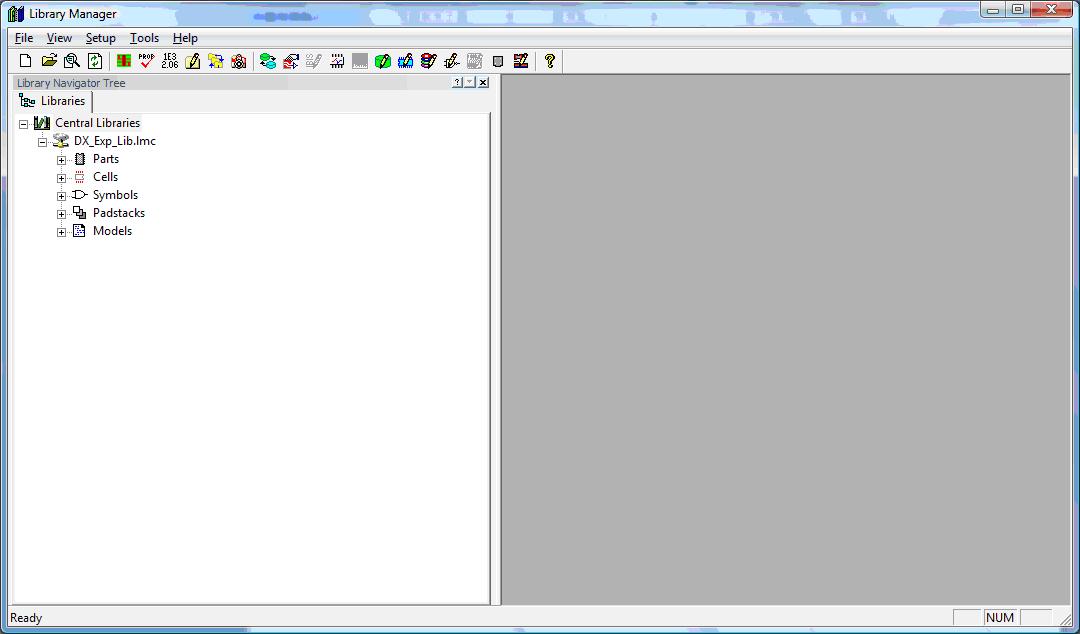
First start the Library Manager and open up your library to get to the following screen.
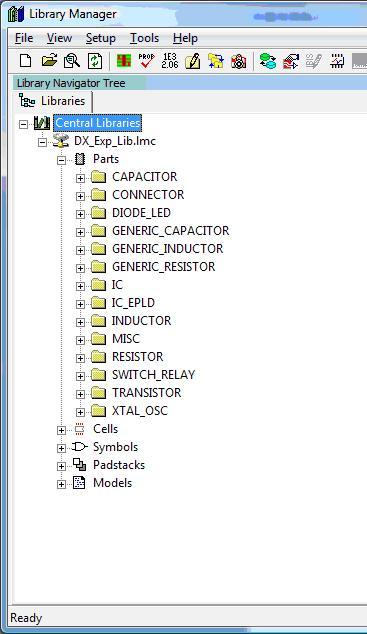
Since the process for creating partitions is universal, let's just create a partition for the Parts library. Click the “+” sign on the left side of the Parts library to expand the list of partitions in the library.
Right clicking on the “Parts” library will open up the following menu
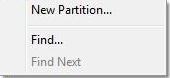
(library right click menu.jpg)
This one of two ways to create a partition. The second method involves opening up the partition editor which is accessed by left clicking on the menu “Setup” and then by selecting “Partition Editor”
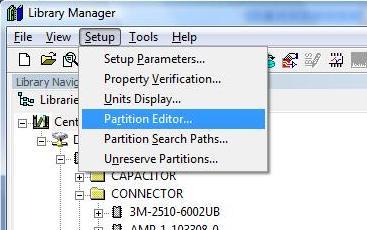
The following pop up will be the Partition editor:
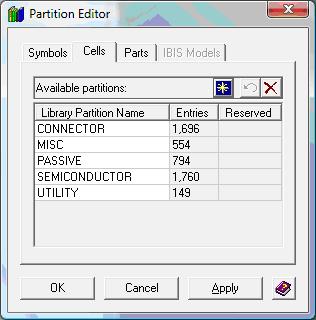
The top tabs are used to indicate which library you are in. As you can see there is a tab for Symbol, Cells, and Parts.