ECE 2A:
Circuits, Devices, and Systems
Fall
2010
Tips on Soldering
Here is a
summary sheet in PDF form: How to solder
Other
on-line help: The
Basic Soldering and De-soldering Guide
(How to solder; types of irons; de-soldering; troubleshooting. by Alan
Winstanley)
Good soldering results depend on a few but important steps
to follow as outlined below:
|
1. |
Pre-heat the soldering iron for
approximately five minutes, tin the tip with solder and rub on a moistened
sponge until it appears bright and shiny. Always brush the soldering iron tip
on the moistened sponge prior to each use to remove burnt rosin and to ensure
proper heat transfer. |
||
|
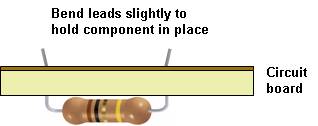
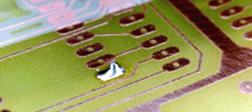
2. |
Add component to PC board.
For through-hole components, bend leads to hold component in place, and trim
excess. For surface-mount components, use a drop of epoxy to hold the part in
place. |
|
|
|
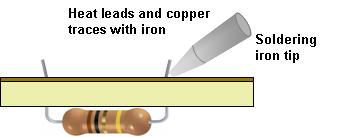
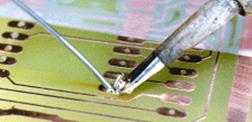
3. |
Place the pre-heated, tinned,
soldering iron tip, simultaneously, against the printed circuit board foil
and the component lead for approximately three to five seconds. |
|
|
|
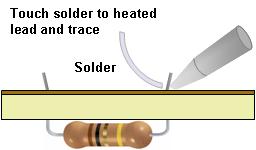
4. |
Apply solder to the component lead
opposite the soldering iron and permit the solder to melt and flow evenly
around the connection. Do not apply solder directly to the
soldering iron tip.. |
|
|
|
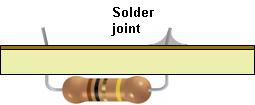
5. |
Next remove the solder and then
remove the soldering iron, and permit the joint to cool before attempting to
move the part or otherwise stressing the joint. When properly soldered the
joint should appear bright and uniform with an even meniscus. |
|
|
|
6. |
If you make a mistake, don't
worry! You can use solder braid (available in the ECE shop) to absorb
the solder from the joint and start over. Just apply the braid over the
joint, and press the hot iron against the braid and the solder. As the
solder melts, it will flow onto the copper braid. |
||